


In today’s digital education landscape, online quizzes have become more than just assessment tools—they are valuable digital products that can generate significant revenue. Whether you are an educator creating practice tests, a certification body offering exam prep materials, or a content creator developing interactive learning experiences, the demand for high-quality quiz content continues to grow.
WooCommerce, the world’s most popular eCommerce platform, provides a powerful and flexible foundation for selling quiz-based products. It can transform your WordPress website into a fully functional online store capable of selling digital quizzes, practice tests, assessments, and interactive learning materials.
QuizPress WooCommerce Integration
This guide will walk you through integrating QuizPress with WooCommerce, allowing you to sell quizzes as products on your WordPress site. To get started, you’ll need to install and set up WooCommerce and connect it with QuizPress.
Step 1: Access QuizPress Add-ons
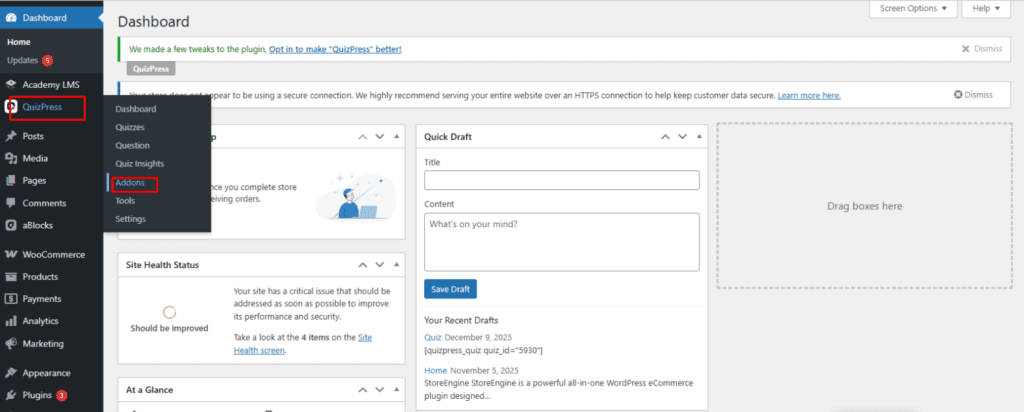
From your WordPress dashboard, navigate to QuizPress from the left sidebar. Once inside the QuizPress menu, click on the Add-ons option to proceed.
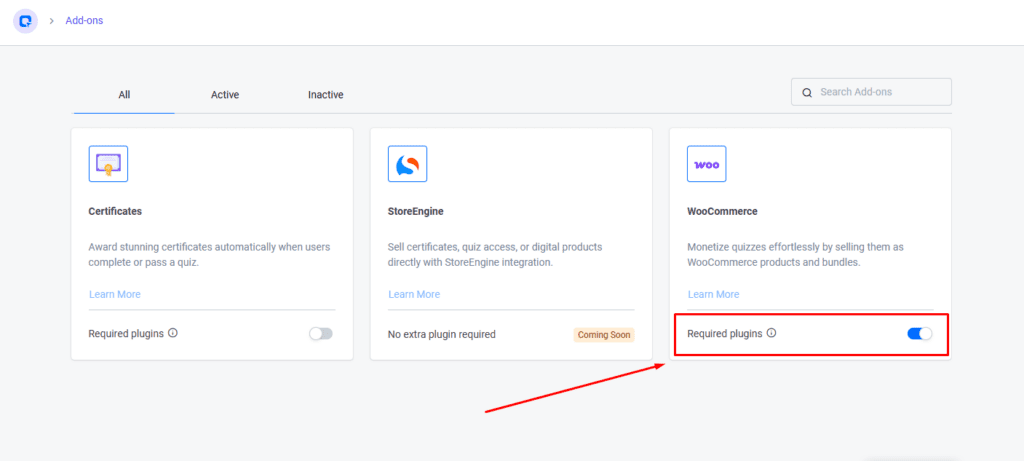
This add-on requires the WooCommerce plugin to be installed and active. To enable integration: Turn on the toggle switch.
Step 2: Create a Quiz
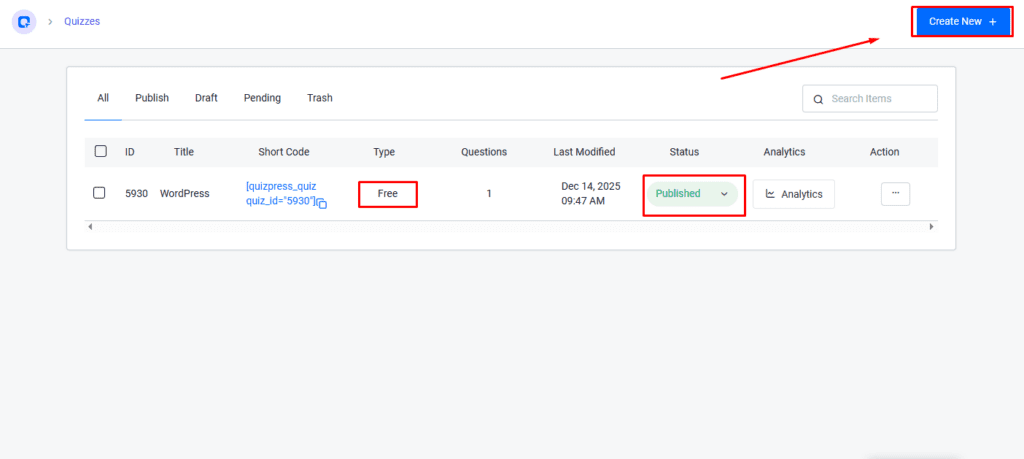
Navigate to Quizzes from QuizPress and click on the ‘Create New’ button to create and publish a new quiz. You can also use a previously created quiz if you prefer.
Step 3: Create a WooCommerce Product
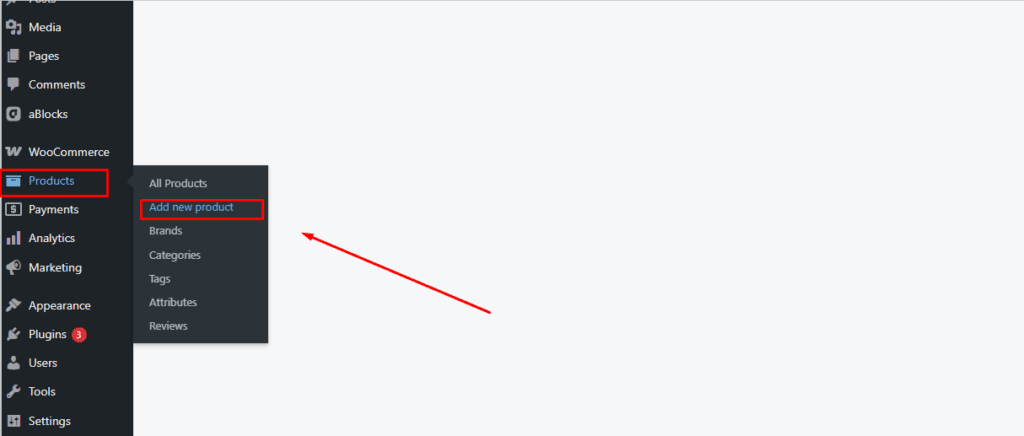
Go to WooCommerce → Products from the WordPress sidebar. Then click the “Add New Product” button to create a new product.
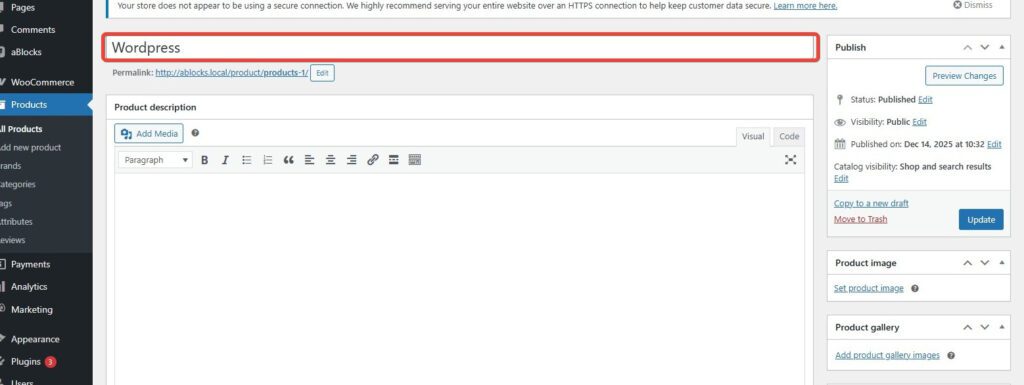
Enter a product name (for example, “Wordpress”). Then add the product description in the text editor provided.
Step 4: Configure Product Settings
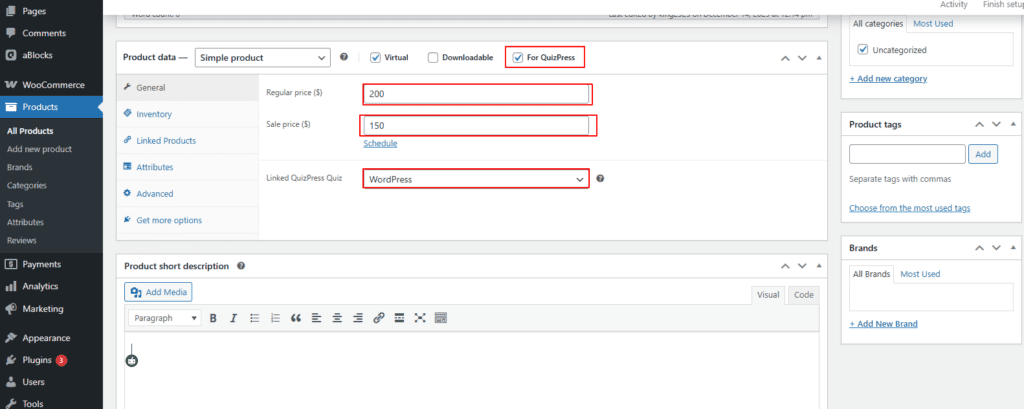
Check the “For QuizPress” checkbox—this is essential for linking the product to your quiz.
- Regular Price: Enter the regular price (e.g., $200).
- Sale Price: Enter a sale price if offering a discount (e.g., $150). You can also schedule the sale price for a specific period.
In the “Linked QuizPress Quiz” dropdown, select your quiz (e.g., “WordPress”) to connect this WooCommerce product to your specific quiz.
Once all settings are configured, publish the product.
Step 5: Verify Quiz Type Change
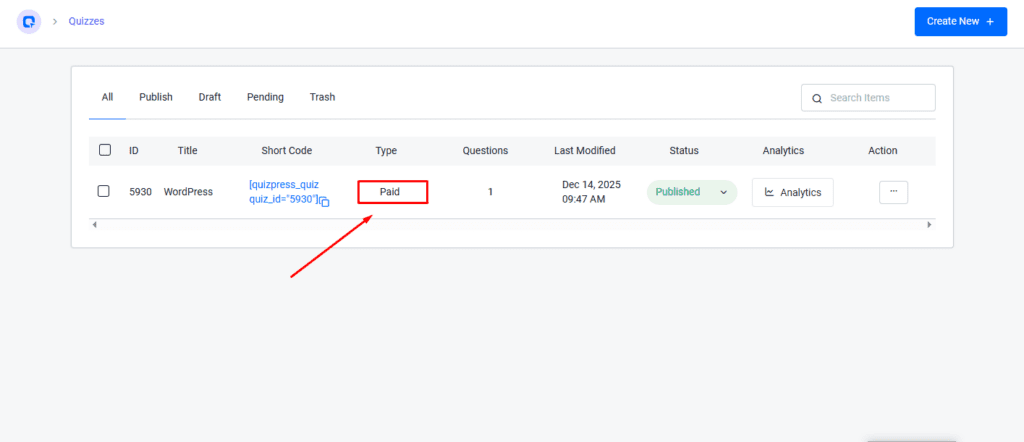
Return to QuizPress → Quizzes. You will notice that the quiz type has automatically changed from “Free” to “Paid”, confirming that the integration with WooCommerce was successful.
Step 6: Edit Quiz Settings
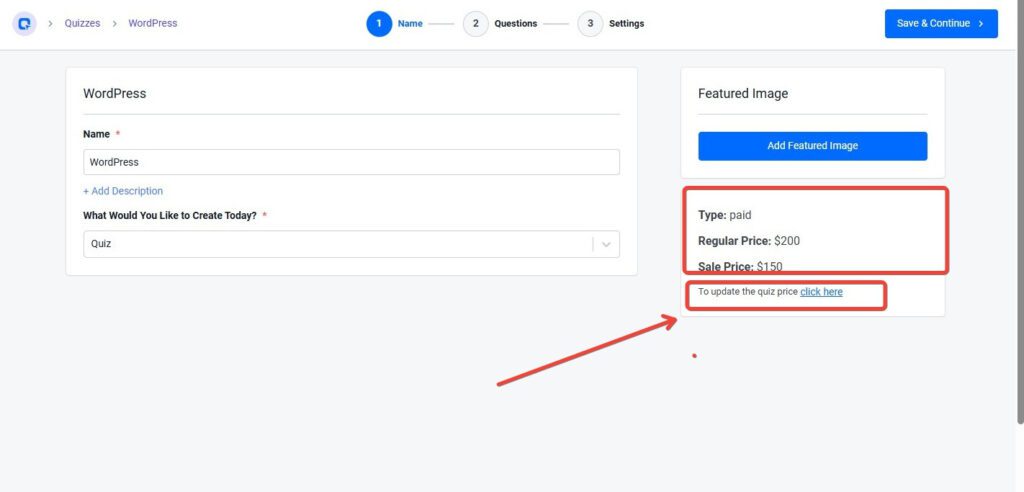
Click on your quiz to edit it and go to the Name tab (Step 1 of 3). On the right side, locate the Featured Image section.
- Type: Paid
- Regular Price: $200
- Sale Price: $150
If you need to update the quiz price, click on “To update the quiz price click here”. This will redirect you to the corresponding WooCommerce product page, where you can modify the pricing.

You can view it to check if everything is set up correctly, and this is how you integrate QuizPress with WooCommerce.